

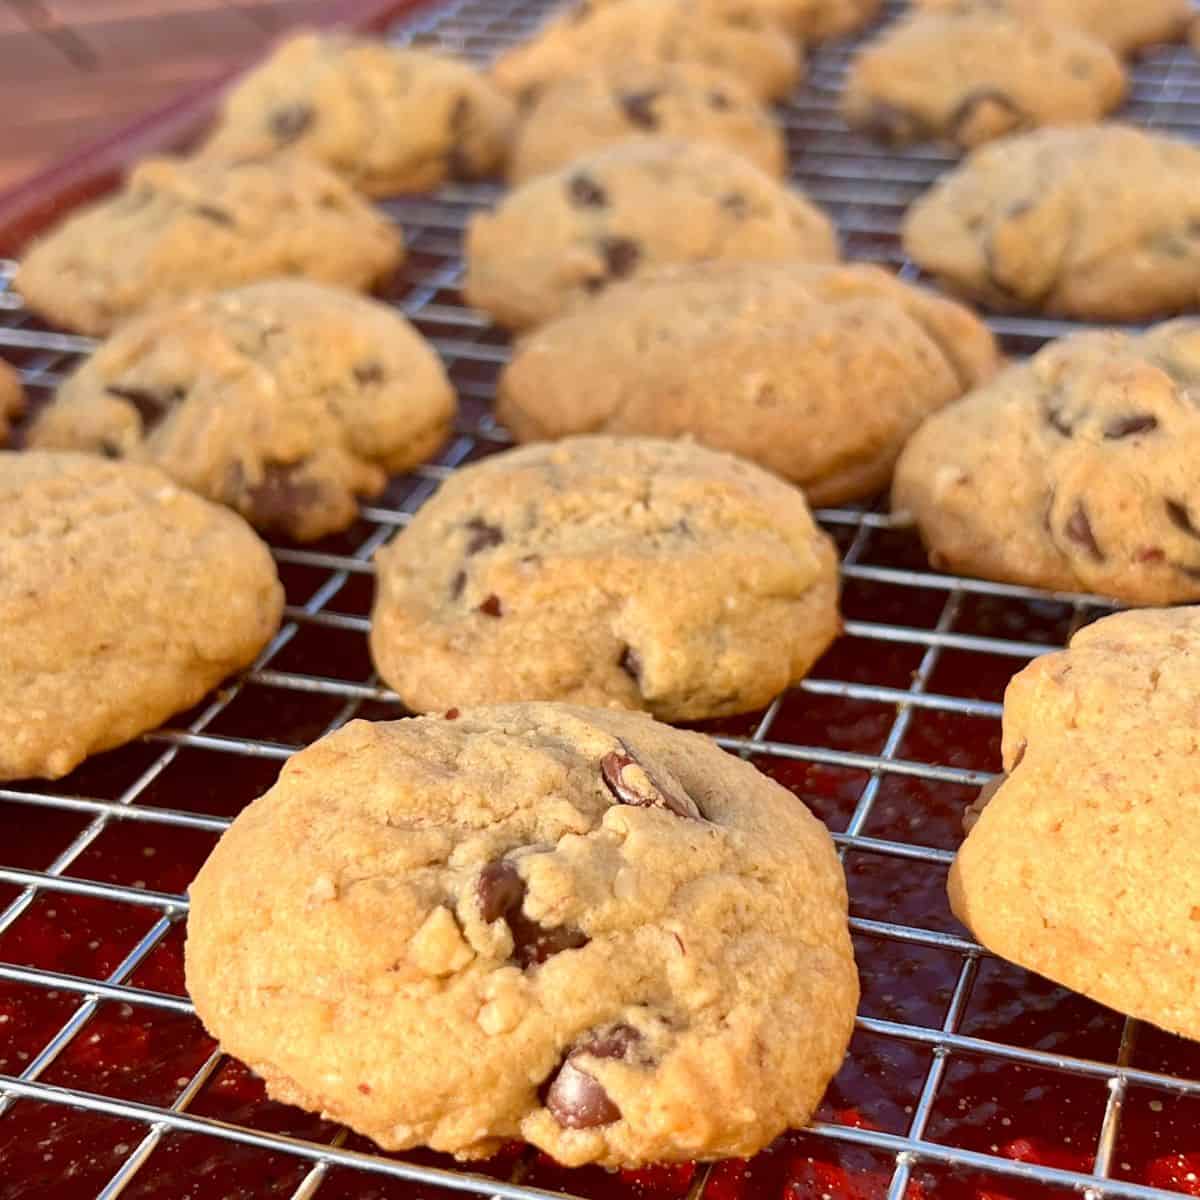
The smell of homemade chocolate chip cookies baking is basically a time machine-and this batch is my go-to recipe when I want classic chocolate chip cookies with crisp edges and a chewy center (hello, squidgy middle).
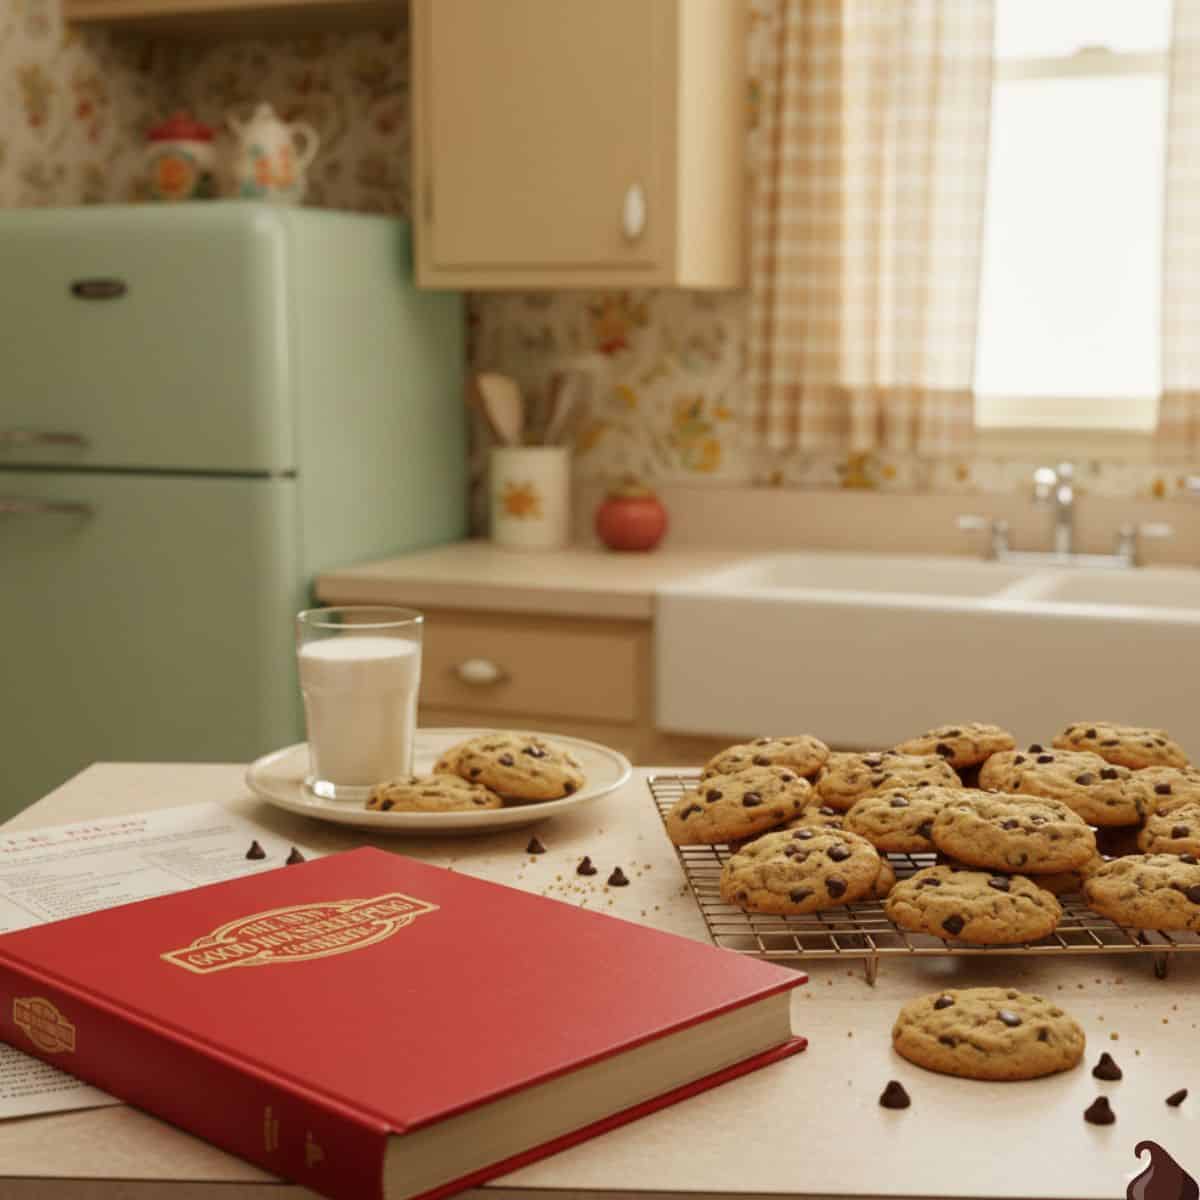
Table of contents
- Why You'll Love These WW-Friendly Old-Fashioned Chocolate Chip Cookies
- Ingredients & Healthier Substitutions (Retro Chocolate Chip Cookies)
- How to Make Retro Chocolate Chip Cookies
- Kitchen Tools I Used (And Love!)
- Watch the How to Make Old Fashioned Chocolate Chip Cookies Video Here...
- 10 Expert Tips for Retro Good Housekeeping Chocolate Chip Cookies (Plus Storage + Freezing)
- Top 3 FAQs for Retro Good Housekeeping Chocolate Chip Cookies
- Are you a Weight Watcher?
This is a true old-fashioned chocolate chip cookies moment, pulled from a retro Good Housekeeping cookbook-because sometimes the best part of eating healthier is making treats at home so you know what's in your cookie dough: real unsalted butter, light brown sugar, a large egg, and vanilla extract-no preservatives, no mystery "butter mixture," and no extra chemicals.
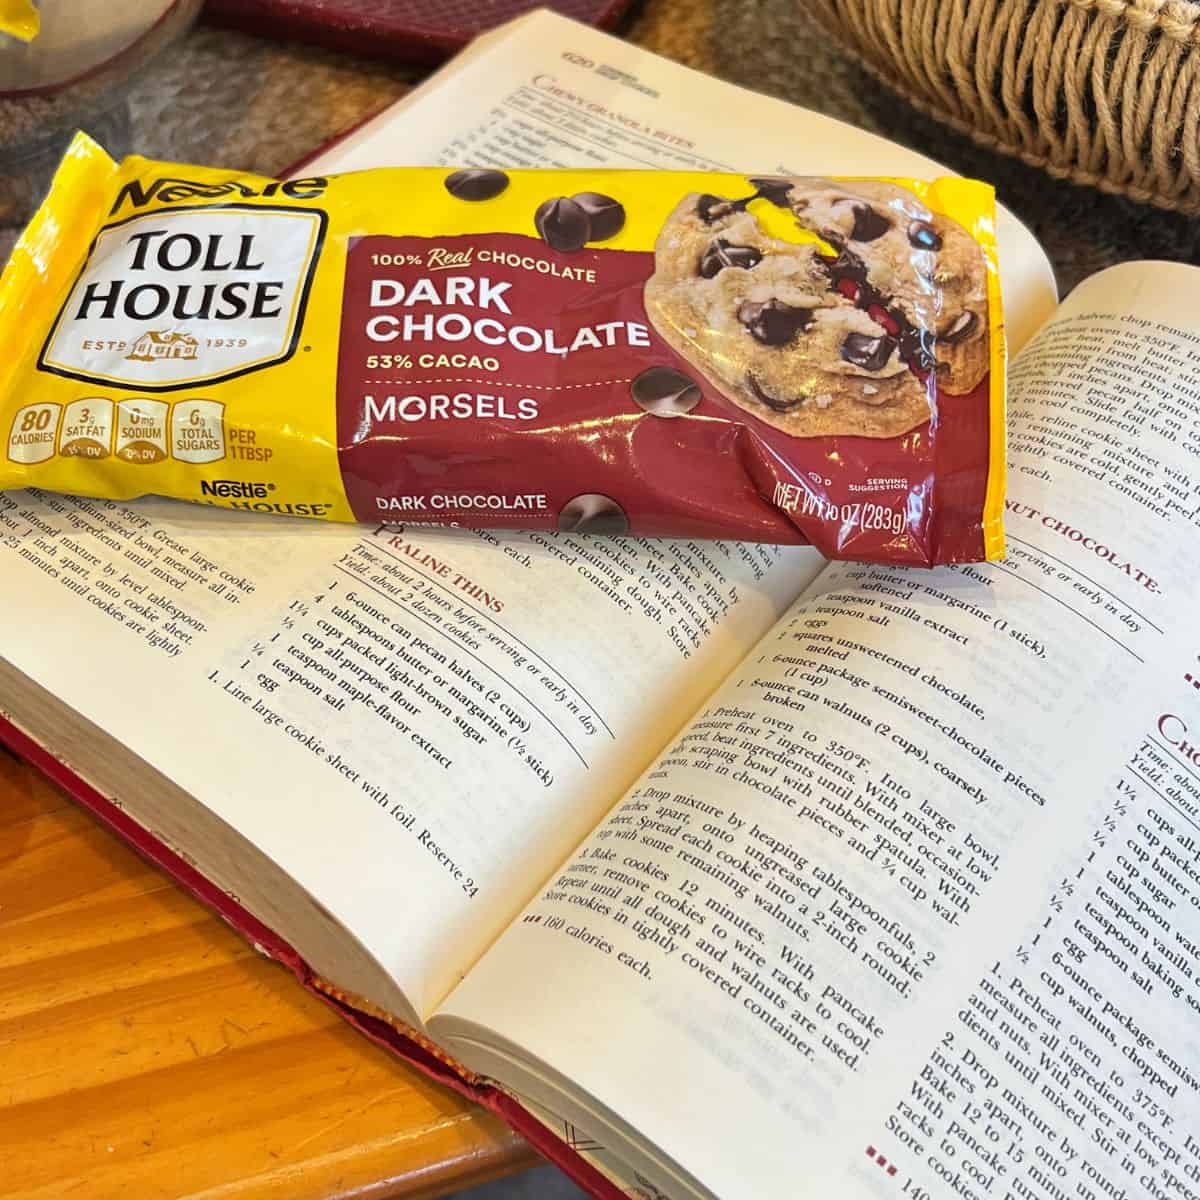
Fun fact: America's obsession with toll house cookies traces back to the Toll House Inn, where the original idea of mixing chopped chocolate bars into cookie dough helped kick off the chocolate chip cookie craze-today we're using dark chocolate chips (and even a little mix of chopped walnuts and pecans if you're feeling fancy) for that deep, craveable crunchy buttery flavor.
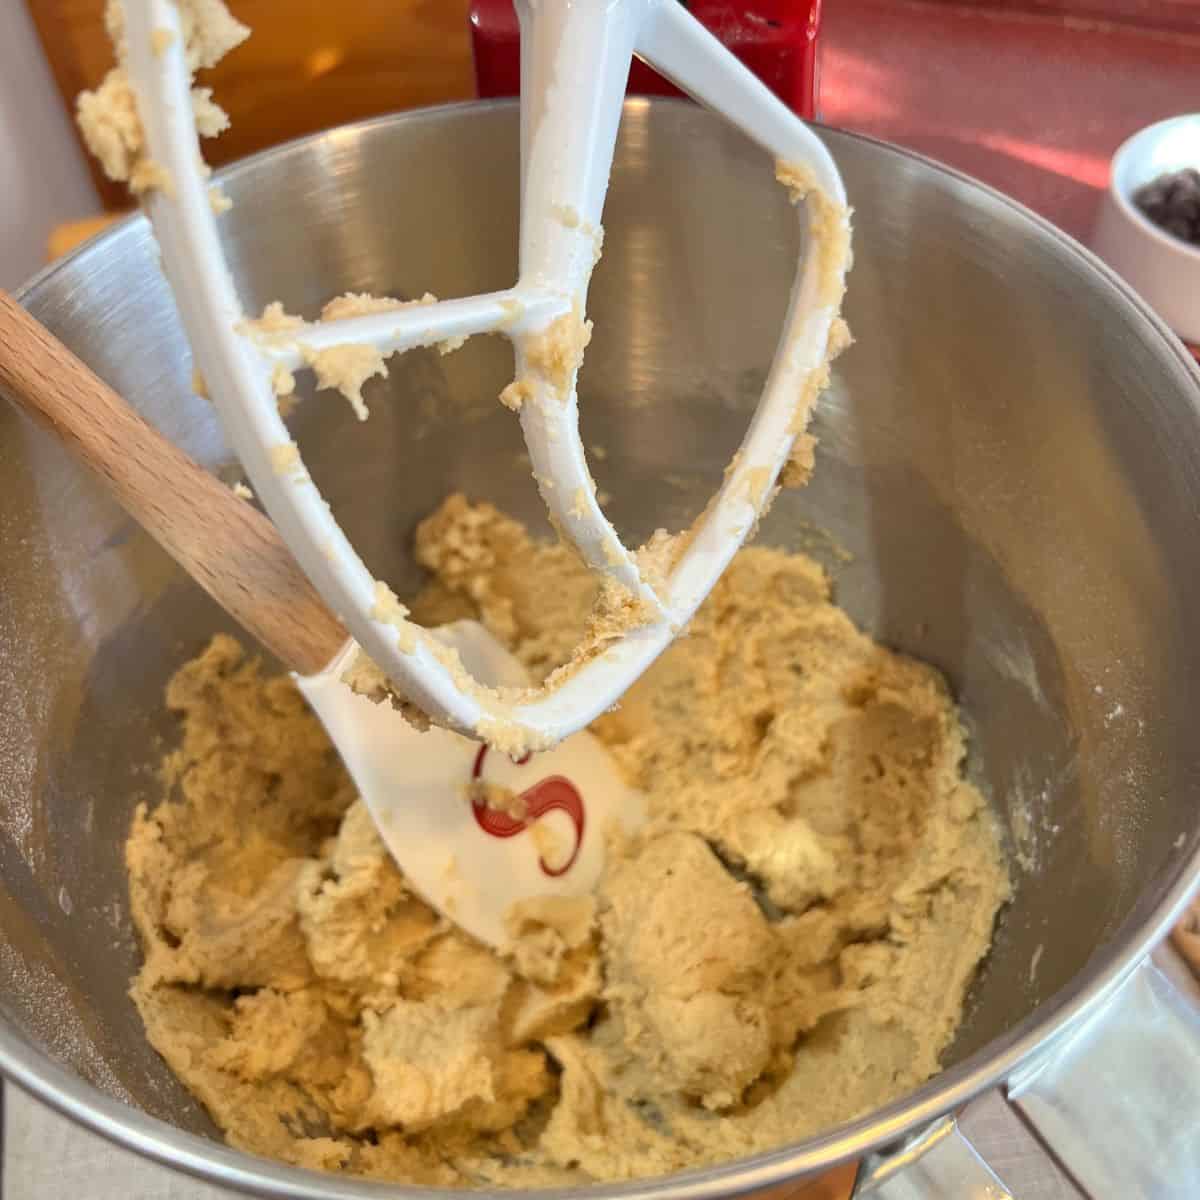
And don't worry-I'll walk you through it step-by-step, whether you're using a stand mixer with a paddle attachment, a hand mixer, or just a wooden spoon and a large bowl.
We'll mix the wet and dry ingredients into a dreamy sugar mixture and form neat little dough balls with a cookie scoop.
You'll line baking sheet (or use a silicone mat / parchment paper) on a cookie sheet or lined baking sheet, bake until golden brown in about 10-12 minutes (or 12-14 minutes for a crisp cookies vibe), and cool on a cooling rack for a softer cookie or a thicker cookie depending on your baking time.
Scoop one up with a cold glass of milk, sandwich it with ice cream, or stash leftovers in an airtight container to keep those chewy cookies just right. If you've ever wanted your favorite chocolate chip cookie recipe to feel nostalgic and more "better-for-you" simply because it's homemade, this might become your best chocolate chip cookie recipe-your next family favorite and perfect chocolate chip cookie.
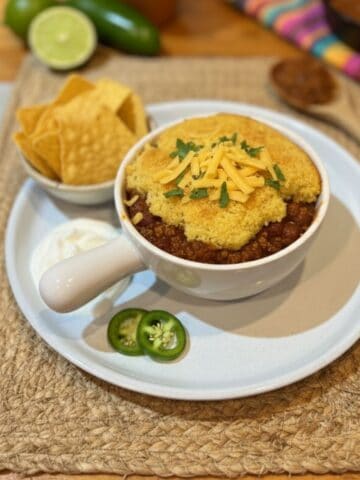
Make sure try some of my other popular healthy Weight Watcher recipes. Low Calorie Wendy's Frosty, 3 Ingredient Cinnamon Muffins , Mini DASH Chaffles, Air Fryer Beignets and The WW Zero Point Apple Crisp Chips.
Why You'll Love These WW-Friendly Old-Fashioned Chocolate Chip Cookies
Weight Watcher Friendly - These light and sweet chocolate chip cookies are only 7 WW points on my WW app for one crisp and chewy cookie.
Now, before you panic about the 7 WW points per cookie-let's talk strategy. Yes, 7 points may feel like a lot when you're working with a daily budget of 23, but that's the beauty of Weight Watchers: you're not restricted-you're empowered.
Yes, these cookies contain sugar-and they can still be Weight Watchers friendly.
The whole point of WW is flexibility: no food is "off limits." It's about tracking your Points, making choices you feel good about, and budgeting in a way that fits your goals. If you really want a cookie (same!), you can absolutely plan for it-maybe pair one with fruit, adjust portion size, or balance your day with a zero-point dinner.
That's real-life healthy eating: enjoying treats mindfully, without guilt, and without feeling like you "blew it" just because you had dessert.
True nostalgic flavor + texture: crisp edges, a chewy center, and that classic buttery chocolate chip cookie taste straight out of a vintage cookbook.
Simple pantry ingredients: no fancy replacements-just a reliable, old-fashioned recipe that works every time.
Perfect for portions & meal prep: bake a batch, freeze dough balls, or store cookies easily so you can enjoy one when the craving hits (instead of polishing off a whole package).
Ingredients & Healthier Substitutions (Retro Chocolate Chip Cookies)
This retro cookie recipe keeps that classic, old-school taste, but you can absolutely make a few simple swaps to better match your goals (lighter, more filling, or more nutrient-dense) without losing the cozy chocolate chip cookie vibe.
All-Purpose Flour (and a Whole Wheat Swap)
- What it does: All-purpose flour gives these cookies their classic tender texture and helps them bake up with that familiar balance of chewy centers and crisp edges.
- Healthier swap: Replace up to 50% of the all-purpose flour with whole wheat flour for more fiber and a slightly "heartier" cookie.
- Example: If your recipe uses 2 cups flour, try 1 cup all-purpose + 1 cup whole wheat.
- Tip: Whole wheat can absorb more liquid, so if the dough seems dry, add 1-2 teaspoons of milk (or a splash of extra vanilla) to bring it together.
Light Brown Sugar (Options to Reduce or Adjust Sweetness)
- What it does: Light brown sugar adds moisture and that classic caramel-like flavor, which helps create a softer, chewier cookie.
- Healthier-ish options:
- Reduce slightly: You can often reduce the sugar by 2-4 tablespoons without totally changing the cookie structure (the cookies may be a bit less chewy and spread slightly less).
- Swap part of it: Replace ¼ of the brown sugar with mashed ripe banana or unsweetened applesauce for a little natural sweetness and moisture (texture becomes softer/cakier).
- Keep it real: If you're making this as a treat, using regular sugar at home is still a win: fewer additives than many store-bought cookies and you control the ingredients.
Dark Chocolate Chips (and Chocolate Options)
- What it does: Dark chocolate brings a bold, rich flavor so the cookies taste indulgent even if you slightly reduce sweetness elsewhere.
- Healthier swap ideas:
- Choose 60-70% dark chocolate chips or chopped dark chocolate for deeper flavor with less sugar than many milk-chocolate chips.
- Use mini chips for better chocolate distribution-you can sometimes use a little less while still getting chocolate in every bite.
Crushed Walnuts & Pecans (Why They're Great + Swaps)
- What they do: Nuts add crunch, texture, and a "bakery-style" feel, plus healthy fats that make cookies more satisfying.
- Healthier and flexible options:
- Keep them (they're a great add-in!), or swap to all walnuts or all pecans depending on preference.
- Want a nut-free cookie? Use pumpkin seeds or sunflower seeds, or simply omit.
- For extra flavor, lightly toast the nuts first-this boosts nuttiness without adding anything extra.
How to Make Retro Chocolate Chip Cookies
1: Preheat oven to 375 degrees F. Into a large bowl measure all ingredients except chocolate pieces and nuts. With a mixer at low speed, beat ingredients until mixed. Stir in chocolate chips and nuts.
2: Drop mixture by rounded tablespoonfuls, 2 inches apart, onto an uncreased cookie sheet or line with parchment paper. Bake for 12 to 15 minutes until lightly browned. With a spatula remove cookies to a wire rack to cool. Repeat with remaining dough. Store cookies in a tightly covered container.
Kitchen Tools I Used (And Love!)
If you want these retro chocolate chip cookies to come out consistent every time-especially with that classic chewy center and crisp edges-the right tools make a big difference. My #1 go-to for this recipe is my KitchenAid stand mixer because it creams the butter and sugar quickly and evenly, which helps the dough come together with the perfect texture. Below is the one I used (including the exact mixer I recommend) so you can easily get it on Amazon if you want to upgrade your baking setup.
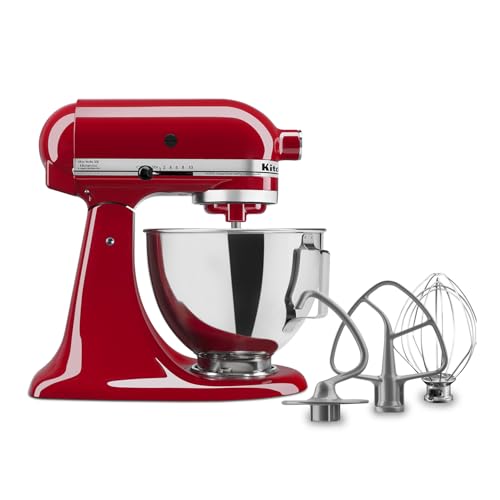
A KitchenAid stand mixer is one of those kitchen upgrades you’ll wonder how you ever baked without. It takes the hard work out of creaming butter and sugar (which is key for that perfect cookie texture), mixes dough quickly and evenly, and frees up your hands so you can prep add-ins, line pans, or clean as you go. It’s powerful enough for thick cookie dough, yet gentle enough for cakes, muffins, whipped cream, and frostings—so it’s not a one-recipe wonder, it’s an everyday workhorse. Plus, with a bowl big enough for batch baking and the option to add attachments later, it’s a long-term investment that makes homemade treats faster, more consistent, and honestly more fun.
Watch the How to Make Old Fashioned Chocolate Chip Cookies Video Here...
10 Expert Tips for Retro Good Housekeeping Chocolate Chip Cookies (Plus Storage + Freezing)
- Use room-temperature butter (not melted).
Room temp butter creams properly with sugar for better lift, structure, and that classic chewy-but-not-greasy texture. - Cream longer than you think (especially with a stand mixer).
Beat the butter + sugars for 2-3 minutes until lighter in color-this builds air for a better rise and more even bake. - Measure flour the "light" way.
Spoon flour into the measuring cup and level it off. Scooping straight from the bag packs flour and can make cookies dry. - Mix dry ingredients in a separate bowl first.
Whisk flour + salt + leavening together so it distributes evenly-no salty pockets, no uneven spread. - Chill the dough for thicker cookies.
Chill 30-60 minutes for a thicker cookie with a chewier center and less spreading (great if your kitchen is warm). - Use a cookie scoop for even baking.
Same-size dough balls = same baking time. It also helps with portion control for WW-minded readers. - Upgrade the chocolate: chop a bar + use chips.
A mix of chopped dark chocolate and semisweet chips gives melty puddles + classic "chip" texture in every bite. - Toast your walnuts/pecans first (5-8 minutes).
Quick toasting boosts nut flavor and keeps them crisp inside the cookie instead of tasting "soft." - Perfect shape trick: the round-cutter swirl.
As soon as cookies come out, place a round cookie cutter around each cookie and swirl gently for a perfect bakery circle. - Bake smart: pull early, finish on the sheet.
Remove when edges are set but centers still look slightly underdone. They'll finish cooking from residual heat-hello chewy middle.
Storage Tips (Keep Them Fresh)
- Store completely cooled cookies in an airtight container at room temp for 3-5 days.
- To keep them softer: add a small piece of bread to the container (swap daily).
- To keep them crisp: store without bread and don't overcrowd the container.
Freezing Tips (Cookies + Dough)
- Freeze baked cookies: cool fully, then freeze in a zip-top bag (layer with parchment) for up to 3 months. Thaw at room temp or warm 10-15 seconds in the microwave.
- Freeze cookie dough balls (best method): scoop dough onto a lined sheet, freeze until solid, then transfer to a bag for up to 3 months.
- Bake from frozen: add 1-3 minutes to bake time and watch the edges.
Top 3 FAQs for Retro Good Housekeeping Chocolate Chip Cookies
This usually happens when the butter is too warm (or melted), the dough wasn't chilled, or the cookie sheet was warm from a previous batch. For thicker cookies, use room-temperature (soft, not greasy) butter, chill the dough 30-60 minutes, and always bake on a cool lined sheet.
For that classic "retro" texture, pull the cookies when the edges are set but the centers still look slightly underbaked. Let them rest on the baking sheet for 5-10 minutes before moving to a cooling rack-carryover heat finishes the center without drying it out.
Yes-this is the best make-ahead trick. Scoop the dough into balls, freeze on a lined baking sheet until solid, then store in a freezer bag for up to 3 months. Bake straight from frozen and add 1-3 minutes to the bake time, watching for lightly golden edges.

Are you a Weight Watcher?
If you follow my Blog you probably already know I am a lifetime member of Weight Watchers and I like to point all of my Recipes with the WW Points System.
This Weight Watchers friendly Retro Chocolate Chip Cookie with nuts recipe is only 7 Points on my app for 1 cookie.
Weight Watchers has a new individualized program right now to make it easier to enjoy the foods you love and still lose weight.
Just plug the ingredients into your WW app to confirm the points for your individual program.
If you want to see the old Purple, Blue and Green WW Food Lists for each plan just click Here… For a list of the 2025 Free WW Food list click here..
Make sure you check out my Newbie WW Tips and Tricks Guide if you are just getting started.
If you are planning to travel soon make sure you check out my 100 Tips for healthy eating on the go.
I used to go back and forth between the Purple Plan and the Blue Plan prior to the new program and whenever I hit a plateau I did my own 30 Day Low Carb Meal Plan which jumpstarts the Fat Burning again, so if you feel stuck try it!

Embark on a transformative culinary journey with '30 Days of Fat Burning Recipes,' a meticulously crafted guide written by the expert author and food blogger, Susan from Sueseaqpi.com. This comprehensive book seamlessly blends a 30-day meal plan with over 90 delectable low carb recipes, making it an indispensable companion for anyone looking to embrace the keto lifestyle. Susan not only demystifies the world of keto but also imparts invaluable lifestyle tips, acting as your trusted companion on the journey toward success in adopting a low carb lifestyle.


Retro Chocolate Chip Cookies | Good Housekeeping Cookbook Recipe
- Total Time: 25 Minutes
- Yield: 24 Cookies 1x
- Diet: Low Calorie
Description
The smell of homemade chocolate chip cookies baking is basically a time machine-and this batch is my go-to recipe when I want classic chocolate chip cookies with crisp edges and a chewy center (hello, squidgy middle).
Ingredients
- 1 ¼ cups of All Purpose Flour
- ½ cup of Light Brown Sugar
- ½ cup of Butter (1 Stick) Softened
- ¼ cup of Sugar
- 1 Tablespoon of Water
- 1 Teaspoon of Vanilla Extract
- ½ Teaspoon of Baking Soda
- ½ Teaspoon of Sea Salt
- 1 Egg
- 6 ounces of Chocolate Chips
- ¼ cup of Chopped Walnuts
- ¼ Cut of Chopped Pecans
Instructions
- Preheat oven to 375 degrees F. Into a large bowl measure all ingredients except chocolate pieces and nuts. With a mixer at low speed, beat ingredients until mixed. Stir in chocolate chips and nuts.
- Drop mixture by rounded tablespoonfuls, 2 inches apart, onto an uncreased cookie sheet or line with parchment paper. Bake for 12 to 15 minutes until lightly browned. With a spatula remove cookies to a wire rack to cool. Repeat with remaining dough. Store cookies in a tightly covered container.
Notes
10 Expert Tips for Retro Good Housekeeping Chocolate Chip Cookies (Plus Storage + Freezing)
- Use room-temperature butter (not melted).
Room temp butter creams properly with sugar for better lift, structure, and that classic chewy-but-not-greasy texture. - Cream longer than you think (especially with a stand mixer).
Beat the butter + sugars for 2-3 minutes until lighter in color-this builds air for a better rise and more even bake. - Measure flour the "light" way.
Spoon flour into the measuring cup and level it off. Scooping straight from the bag packs flour and can make cookies dry. - Mix dry ingredients in a separate bowl first.
Whisk flour + salt + leavening together so it distributes evenly-no salty pockets, no uneven spread. - Chill the dough for thicker cookies.
Chill 30-60 minutes for a thicker cookie with a chewier center and less spreading (great if your kitchen is warm). - Use a cookie scoop for even baking.
Same-size dough balls = same baking time. It also helps with portion control for WW-minded readers. - Upgrade the chocolate: chop a bar + use chips.
A mix of chopped dark chocolate and semisweet chips gives melty puddles + classic "chip" texture in every bite. - Toast your walnuts/pecans first (5-8 minutes).
Quick toasting boosts nut flavor and keeps them crisp inside the cookie instead of tasting "soft." - Perfect shape trick: the round-cutter swirl.
As soon as cookies come out, place a round cookie cutter around each cookie and swirl gently for a perfect bakery circle. - Bake smart: pull early, finish on the sheet.
Remove when edges are set but centers still look slightly underdone. They'll finish cooking from residual heat-hello chewy middle.
Storage Tips (Keep Them Fresh)
- Store completely cooled cookies in an airtight container at room temp for 3-5 days.
- To keep them softer: add a small piece of bread to the container (swap daily).
- To keep them crisp: store without bread and don't overcrowd the container.
Freezing Tips (Cookies + Dough)
- Freeze baked cookies: cool fully, then freeze in a zip-top bag (layer with parchment) for up to 3 months. Thaw at room temp or warm 10-15 seconds in the microwave.
- Freeze cookie dough balls (best method): scoop dough onto a lined sheet, freeze until solid, then transfer to a bag for up to 3 months.
- Bake from frozen: add 1-3 minutes to bake time and watch the edges.
- Prep Time: 10 Minutes
- Cook Time: 15 Minutes
- Category: Dessert
- Method: Oven
- Cuisine: American
Nutrition
- Serving Size: 1 Cookie
- Calories: 136
- Sugar: 10.3 g
- Sodium: 79.5 mg
- Fat: 7.7 g
- Carbohydrates: 16.1 g
- Protein: 1.8 g
- Cholesterol: 17.9 mg

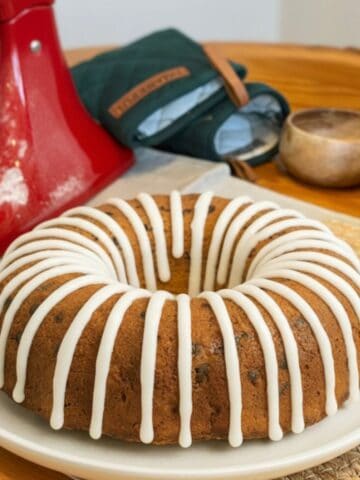
Before you go-if you love cozy, homemade baking with a healthier twist, you'll absolutely want to check out my new cookbook on Amazon: The Healthy Muffin Cookbook - Autumn, Winter and Holiday Edition.
It's packed with seasonal, feel-good muffin recipes that are easy to make, perfectly portionable, and full of warm flavors you crave this time of year-without tons of complicated ingredients.
If you're looking for fresh new ideas for breakfast, snacks, or lighter desserts (including WW-friendly inspiration), this book was made for you. Tap the button below to grab your copy on Amazon and start baking your way through the coziest season!
Leave a Reply